Getting Started with Your Local Business Pro's AI Receptionist
Last Updated: January 28, 2025

Congratulations on setting up your Local Business Pro account! If you’re ready to create and configure your AI receptionist, this guide will walk you through the initial steps and help you navigate your account.

Logging In and Exploring Your Dashboard
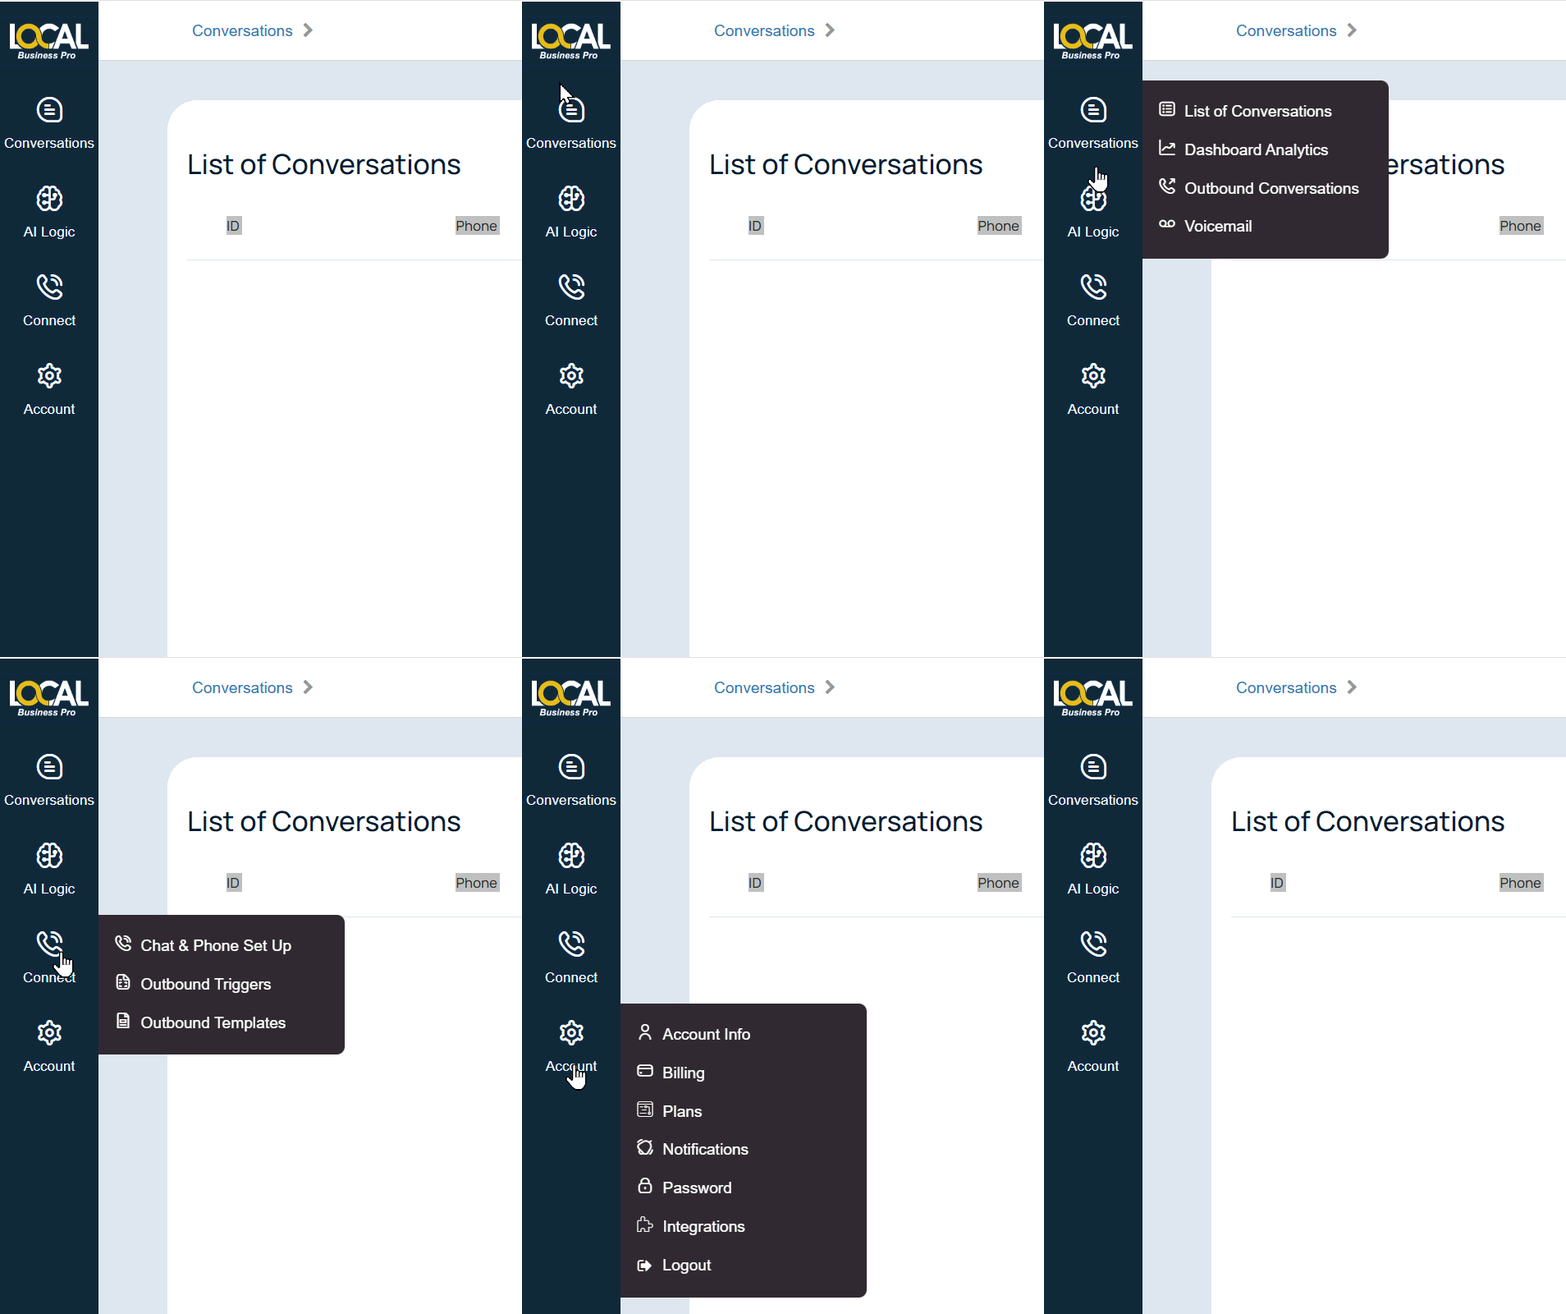
Once you have created an account, log in to access your dashboard. The sidebar, located on the left-hand side, contains key sections for managing your AI receptionist.
Conversations
The Conversations tab is your central hub for viewing all interactions managed by your AI receptionist. Here, you can:
-
Review inbound calls and chat conversations.
-
Monitor outbound calls (if enabled in your account) to track AI-initiated conversations.
-
For voicemails, review messages left when your AI receptionist’s number is temporarily unavailable—ensuring all calls are recorded and saved for later follow-up.
-
Access Dashboard Analytics for an overview and summary of conversation performance.
Also see: Understanding Your AI Receptionist’s Conversations
AI Logic
This section is where you configure the core functionality and behavior of your AI receptionist. Key setup areas include:
Receptionist: Define how your AI receptionist should interact with customers.
Products/Services: Add details about your offerings, including descriptions and pricing.
Business Information: Enter your business name, operating hours, address, and service areas.
For a comprehensive guide on customizing your AI receptionist, visit: AI Logic Customization.
Connect
In the Connect section, you’ll set up communication channels for your AI receptionist. This includes:
Configuring call and chat functionality.
Setting up outbound calls, if enabled for your account.
Useful links:
How to Set Up Your AI Receptionist for Calls & Chats
How to Embed Your AI Chat Widget
Enabling Outbound Calls for Your AI Receptionist
Account
The Account section contains your personal and business account details. Here, you can:
Update your password.
Manage billing information and view your subscription plan.
Access integrations to connect with other tools and services.
Configure notifications to receive updates via email and to notify callers via SMS.
Useful Links:
How to Update Your Password
How to Change Your Subscription Plan
How to Connect your CRM to Local Business Pro
How to Set Up Notifications
Index
Related Articles
