How To Set Up Your Services
Local Business Pro
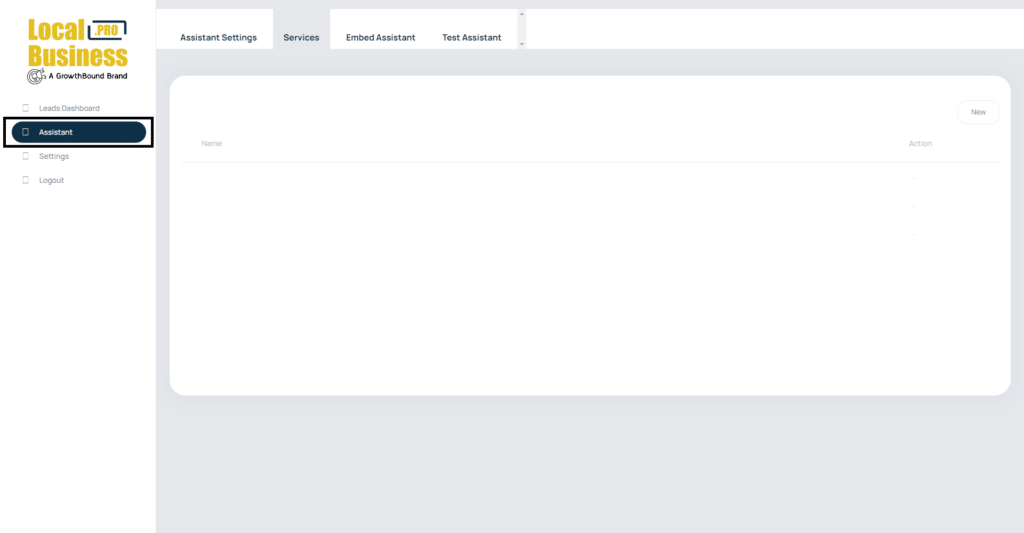
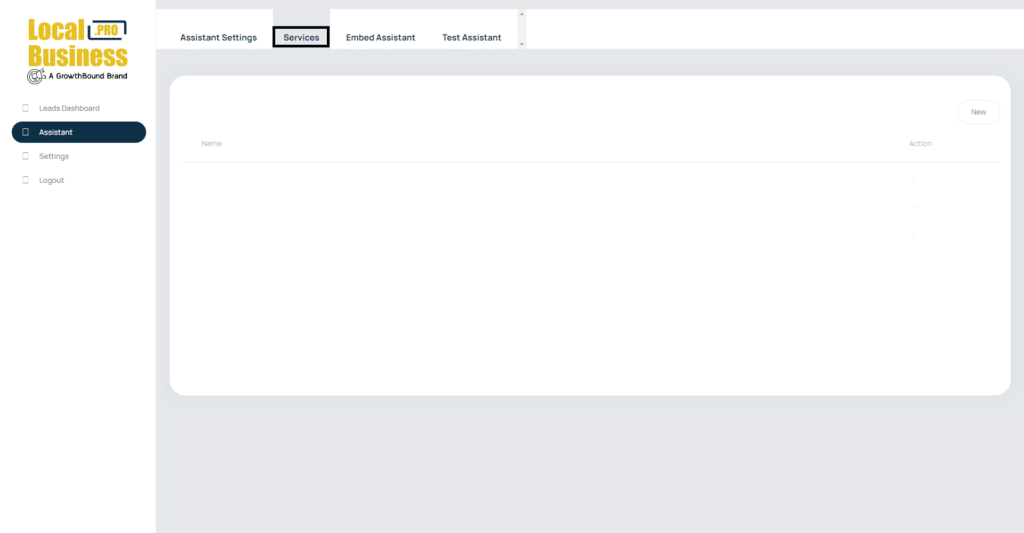
When you first sign up on Local Business Pro, you were given different options of what services your business may have based on what business name and business industry you indicated. If you choose any of these options, these will appear under “Services” on the “Assistant” tab on the left menu. This will help the Assistant know what products or services to sell to the contact.


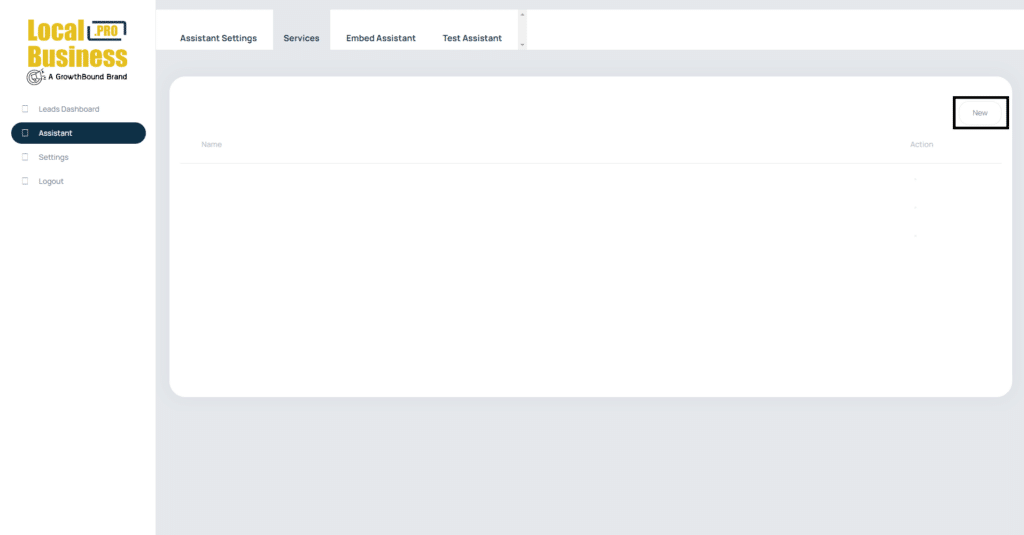
If you don’t have any services set up yet, you can add one by clicking the “New” on the upper right. You can edit all the details of services straight away, if you’re just adding a new one.

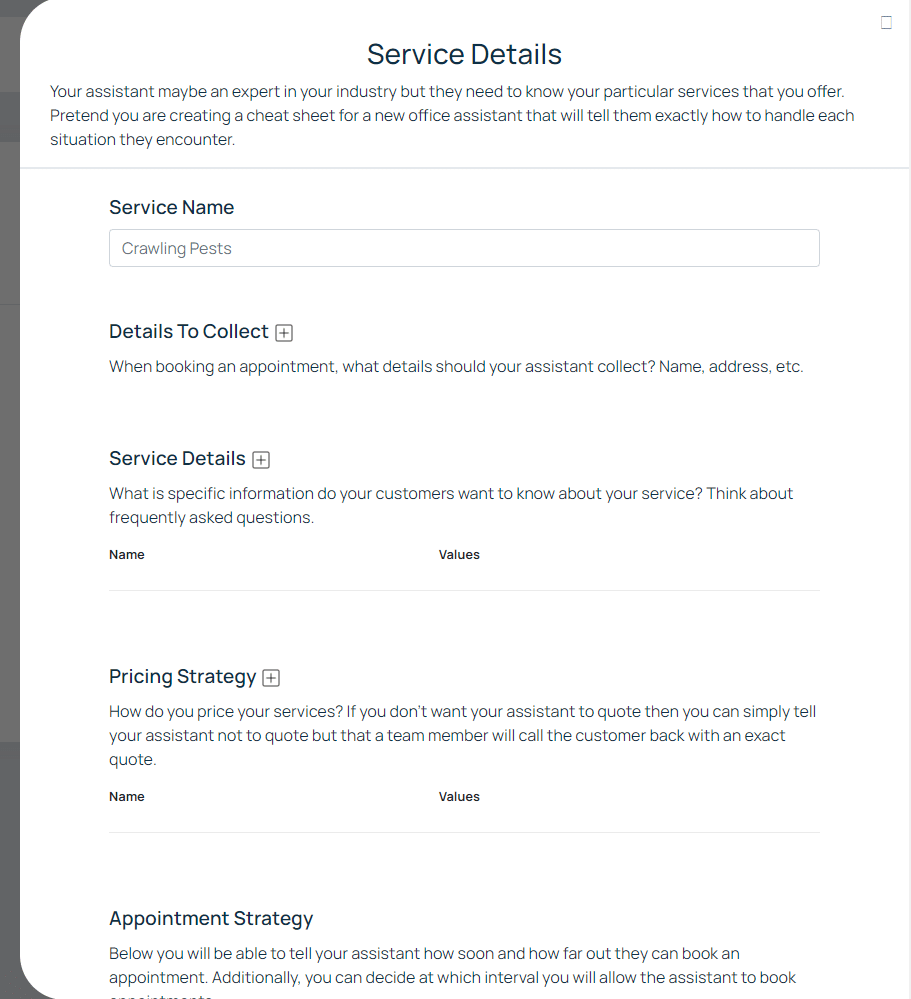
But if you already have a pre-existing services that the Assistant has already created upon signing up, click the service to pull out the “Service Details” and edit everything you possibly need to edit.
From here you can edit the name of your Service, Details To Collect, Service Details, Pricing Strategy, Appointment Strategy, and click “Save.”
Allows the Assistant to determine what services or products your business are offering.
When the Assistant has successfully closed a deal or is booking an appointment, these are the information they will need to collect from the contact. Click the “+” sign button to add anything you want to the Assistant to collect like Name, Phone number, Address, etc.
To make your services more detailed for your assistant and customers, you can add more specific details on this portion. If you click the “+” sign, two columns will appear. Think of it as options. Under your main service are the different options, which is the first column (Name). Under that options are other options, which will be the columns under (Values).
Setting up the Pricing Strategy is the same as the Service Details. Click the “+” sign to add your pricing values. Under the “Name” put the name of the product or service you’re setting the price with. Then, put the price of that product or service under “Values.”
For example, if your business is selling t-shirts, you can have different prices of the t-shirt depending on the type, style, sizes, etc. So if your t-shirt A can cost $5, t-shirt B can cost $8, t-shirt C can cost $13, and so on and so forth.
On service-based business, the pricing strategy can help the Assistant create a more precise quotation for the contact. However, if you don’t want the Assistant to give a quotation because you have a very complex pricing strategy you can add “Do Not Quote” on the “Name” and “Tell them a team member will call to confirm price” on the “Values.”
At this portion, you can tell the Assistant how much notice you will need when booking an appointment. For example, upon the conversation the contact want to book an appointment, depending on your services, you might not be able to cater to the needs of your customers immediately. That’s why you need to set up your Assistant to allow booking the same day, next day, after two days, after three days, or after a week, depending on the time you may need to get ready for the appointment. You can also indicate what time of the day: Morning, Afternoon, or Evening.
If your calendar is integrated, the Assistant will access your calendar and know which date is available on your end while also keeping in mind the notice period setting you set up. By integrating your calendar, it will eliminate the risk of having double booked appointments.


